Creating Safe Spaces Since 2015
Egress? What is it? Why do i need it?
Alright, let’s jazz up the window installation game with some Geek-tastic flair! When it comes to popping in those windows, everyone’s got their own funky style, but our Geeks? We’ve nailed it down to two slick methods that’ve been rocking our world for a decade (and counting)! Say hello to Option A (the renovation brick mould superstar) and Option B (the nailing flange ninja). Sure, we’ve dabbled in other tricks when projects get wild, but these two cover 95% of the action, so let’s keep it simple and sassy!
Both Option A and Option B kick things off with the same groove: we line that freshly cut opening with pressure-treated 2”x6” lumber (no cheap spruce nonsense here, only the good stuff! 😎). This “bucked frame” gets snugly tucked ½ to 1” back from the exterior concrete foundation’s face and ramset into place like it’s ready to star in an action movie. Now, here’s where the paths split:
Option A gets all dressed up with a water-resistant 3M membrane wrap slapped on the bucked frame to fend off sneaky H2O—yuck! Add a dollop of silicone sealant around the perimeter, and boom, you’ve got a fortress-like water barrier keeping the cozy indoors safe from the wild outdoors. Then, enter the superstar 2” reverse drip cap, strutting in to stop any drippy water from crashing the party between the window unit and our fancy barrier. Hold tight, Option B fans—your moment’s coming in step two!
Option A is now prepped and ready for the main event: window installation time! The window unit rolls in with a pre-made vinyl brick mould, looking all snazzy. We pop off the surface caps, drive in some 2.5” screws, and give it a “blind caulking” spa treatment. Then, it’s slid into the bucked frame under that dazzling drip cap, leveled to perfection vertically (no wonky slopes here!) and horizontally (no cruise ship vibes, please). Option B, you’re up! This bad boy uses a nailing flange window unit, slipped into a bare bucked frame. Same leveling magic happens—vertical, horizontal, all that jazz—then it’s caulk-and-membrane time! Silicone sealant and 3M wrap team up to create a water-tight seal that laughs in the face of harsh weather.
Now, the paths diverge like a choose-your-own-adventure book! Option A gets a final silicone sealant glow-up around the brick mould and often above the drip cap (though sometimes we skip that step, depending on the vibe). Then, it’s spray foam time on the interior, and voilà—Option A is done! (Just gotta snap those vinyl caps back on to hide the screws for that sleek exterior look.) Option B demands a bit more pizzazz. We toss in some spruce blocks around the exterior perimeter—why, you ask? Because we’re about to get fancy! A shiny new standard white drip cap (not reverse, we’re switching it up!) takes the stage, followed by custom-bent aluminum cladding—crafted on-site to hug your window unit like a tailored suit. From classic white to bold black and every shade in between, we’ve got you covered! Option B wraps up with a foam party on the interior, just like its cousin, and both methods are ready to shine! ✨
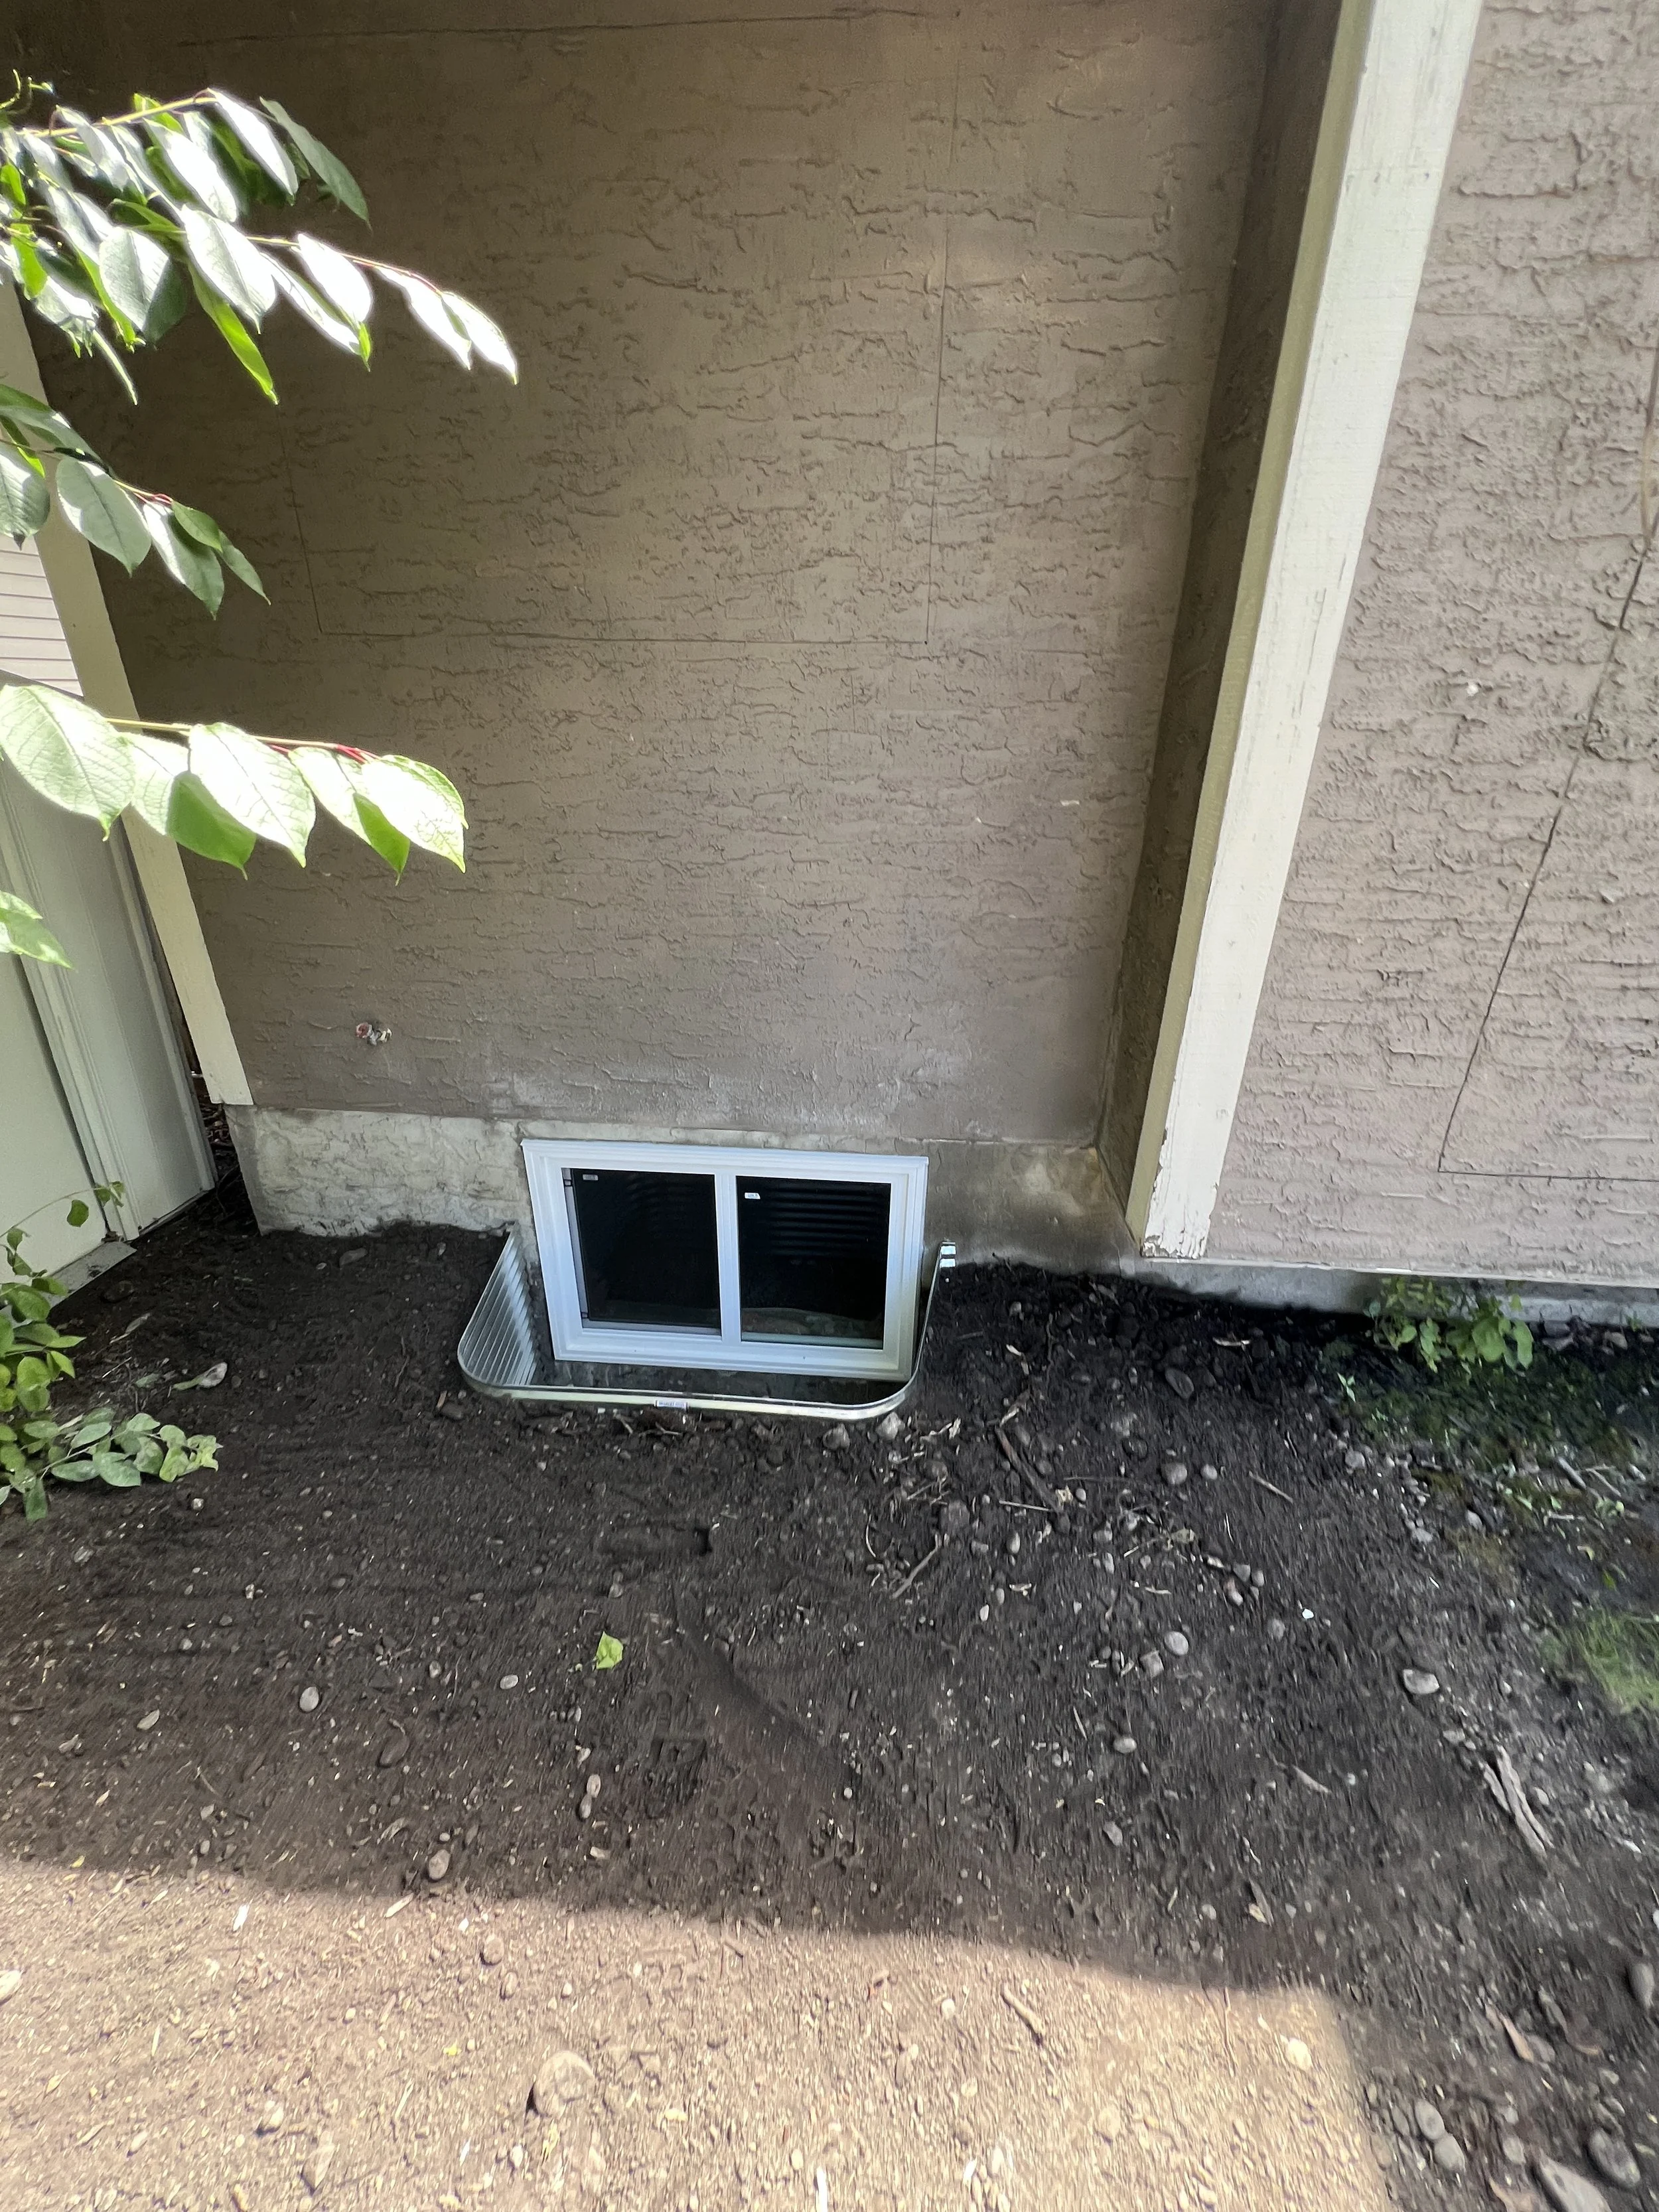
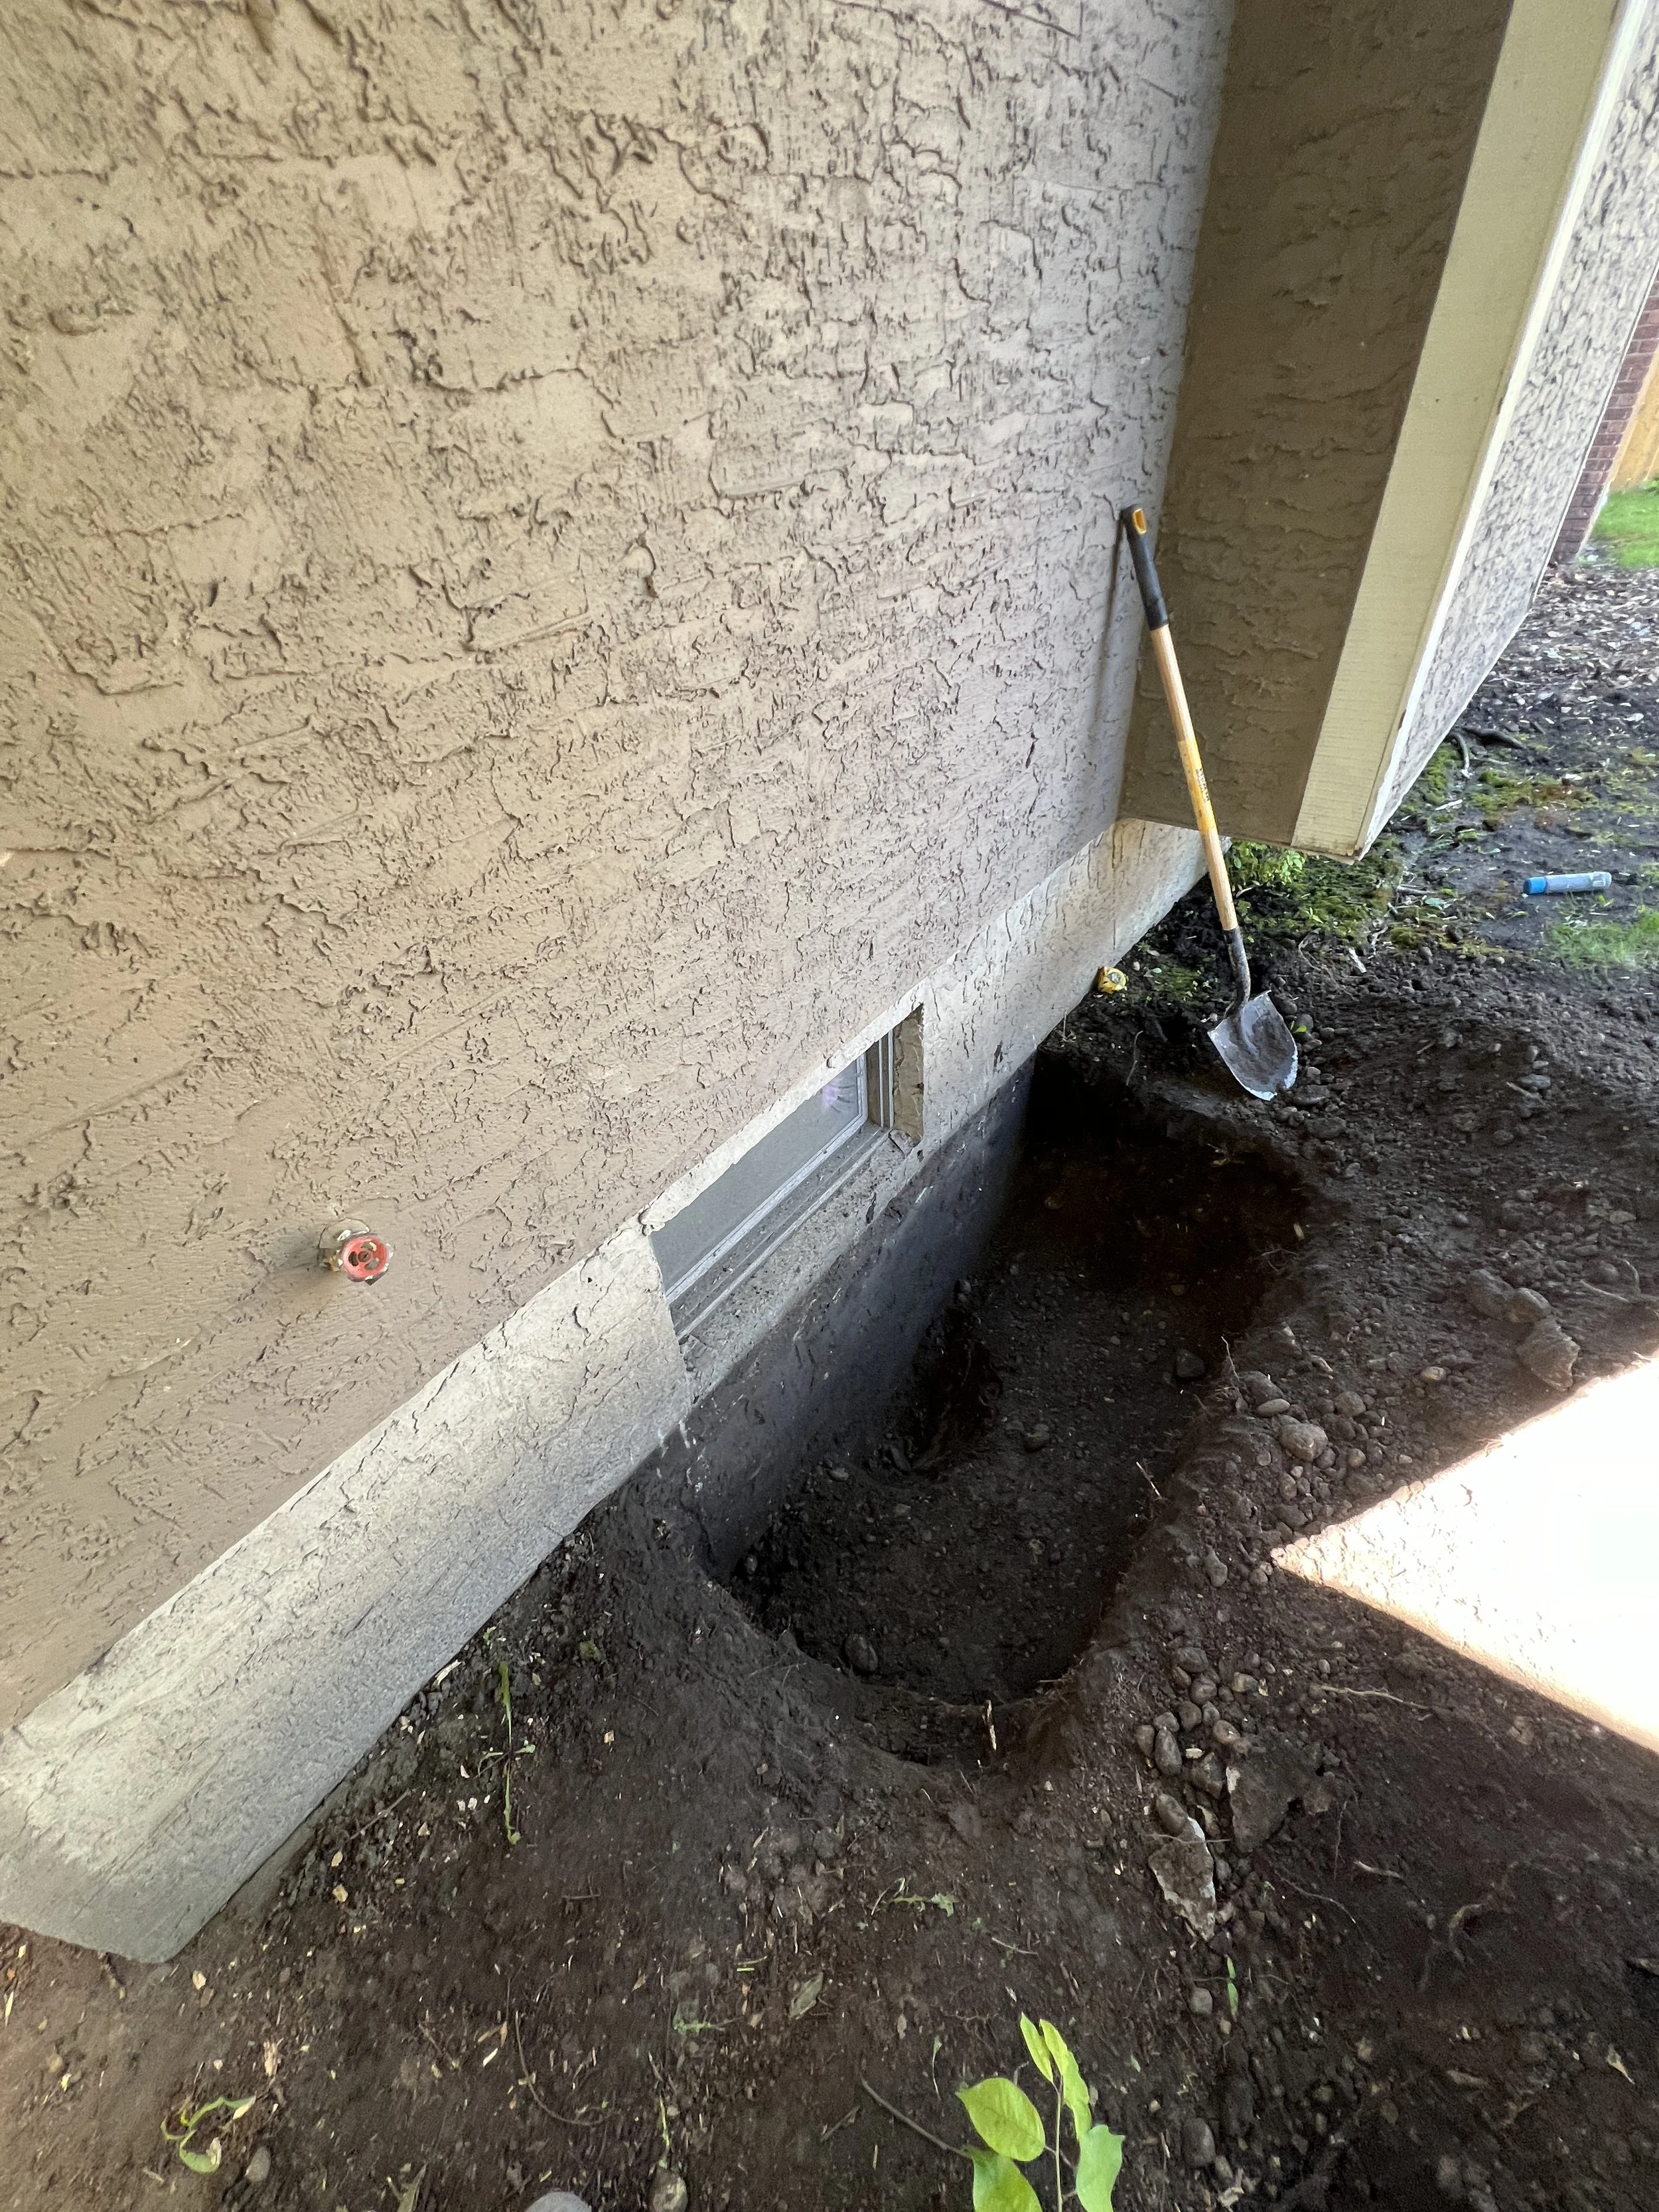
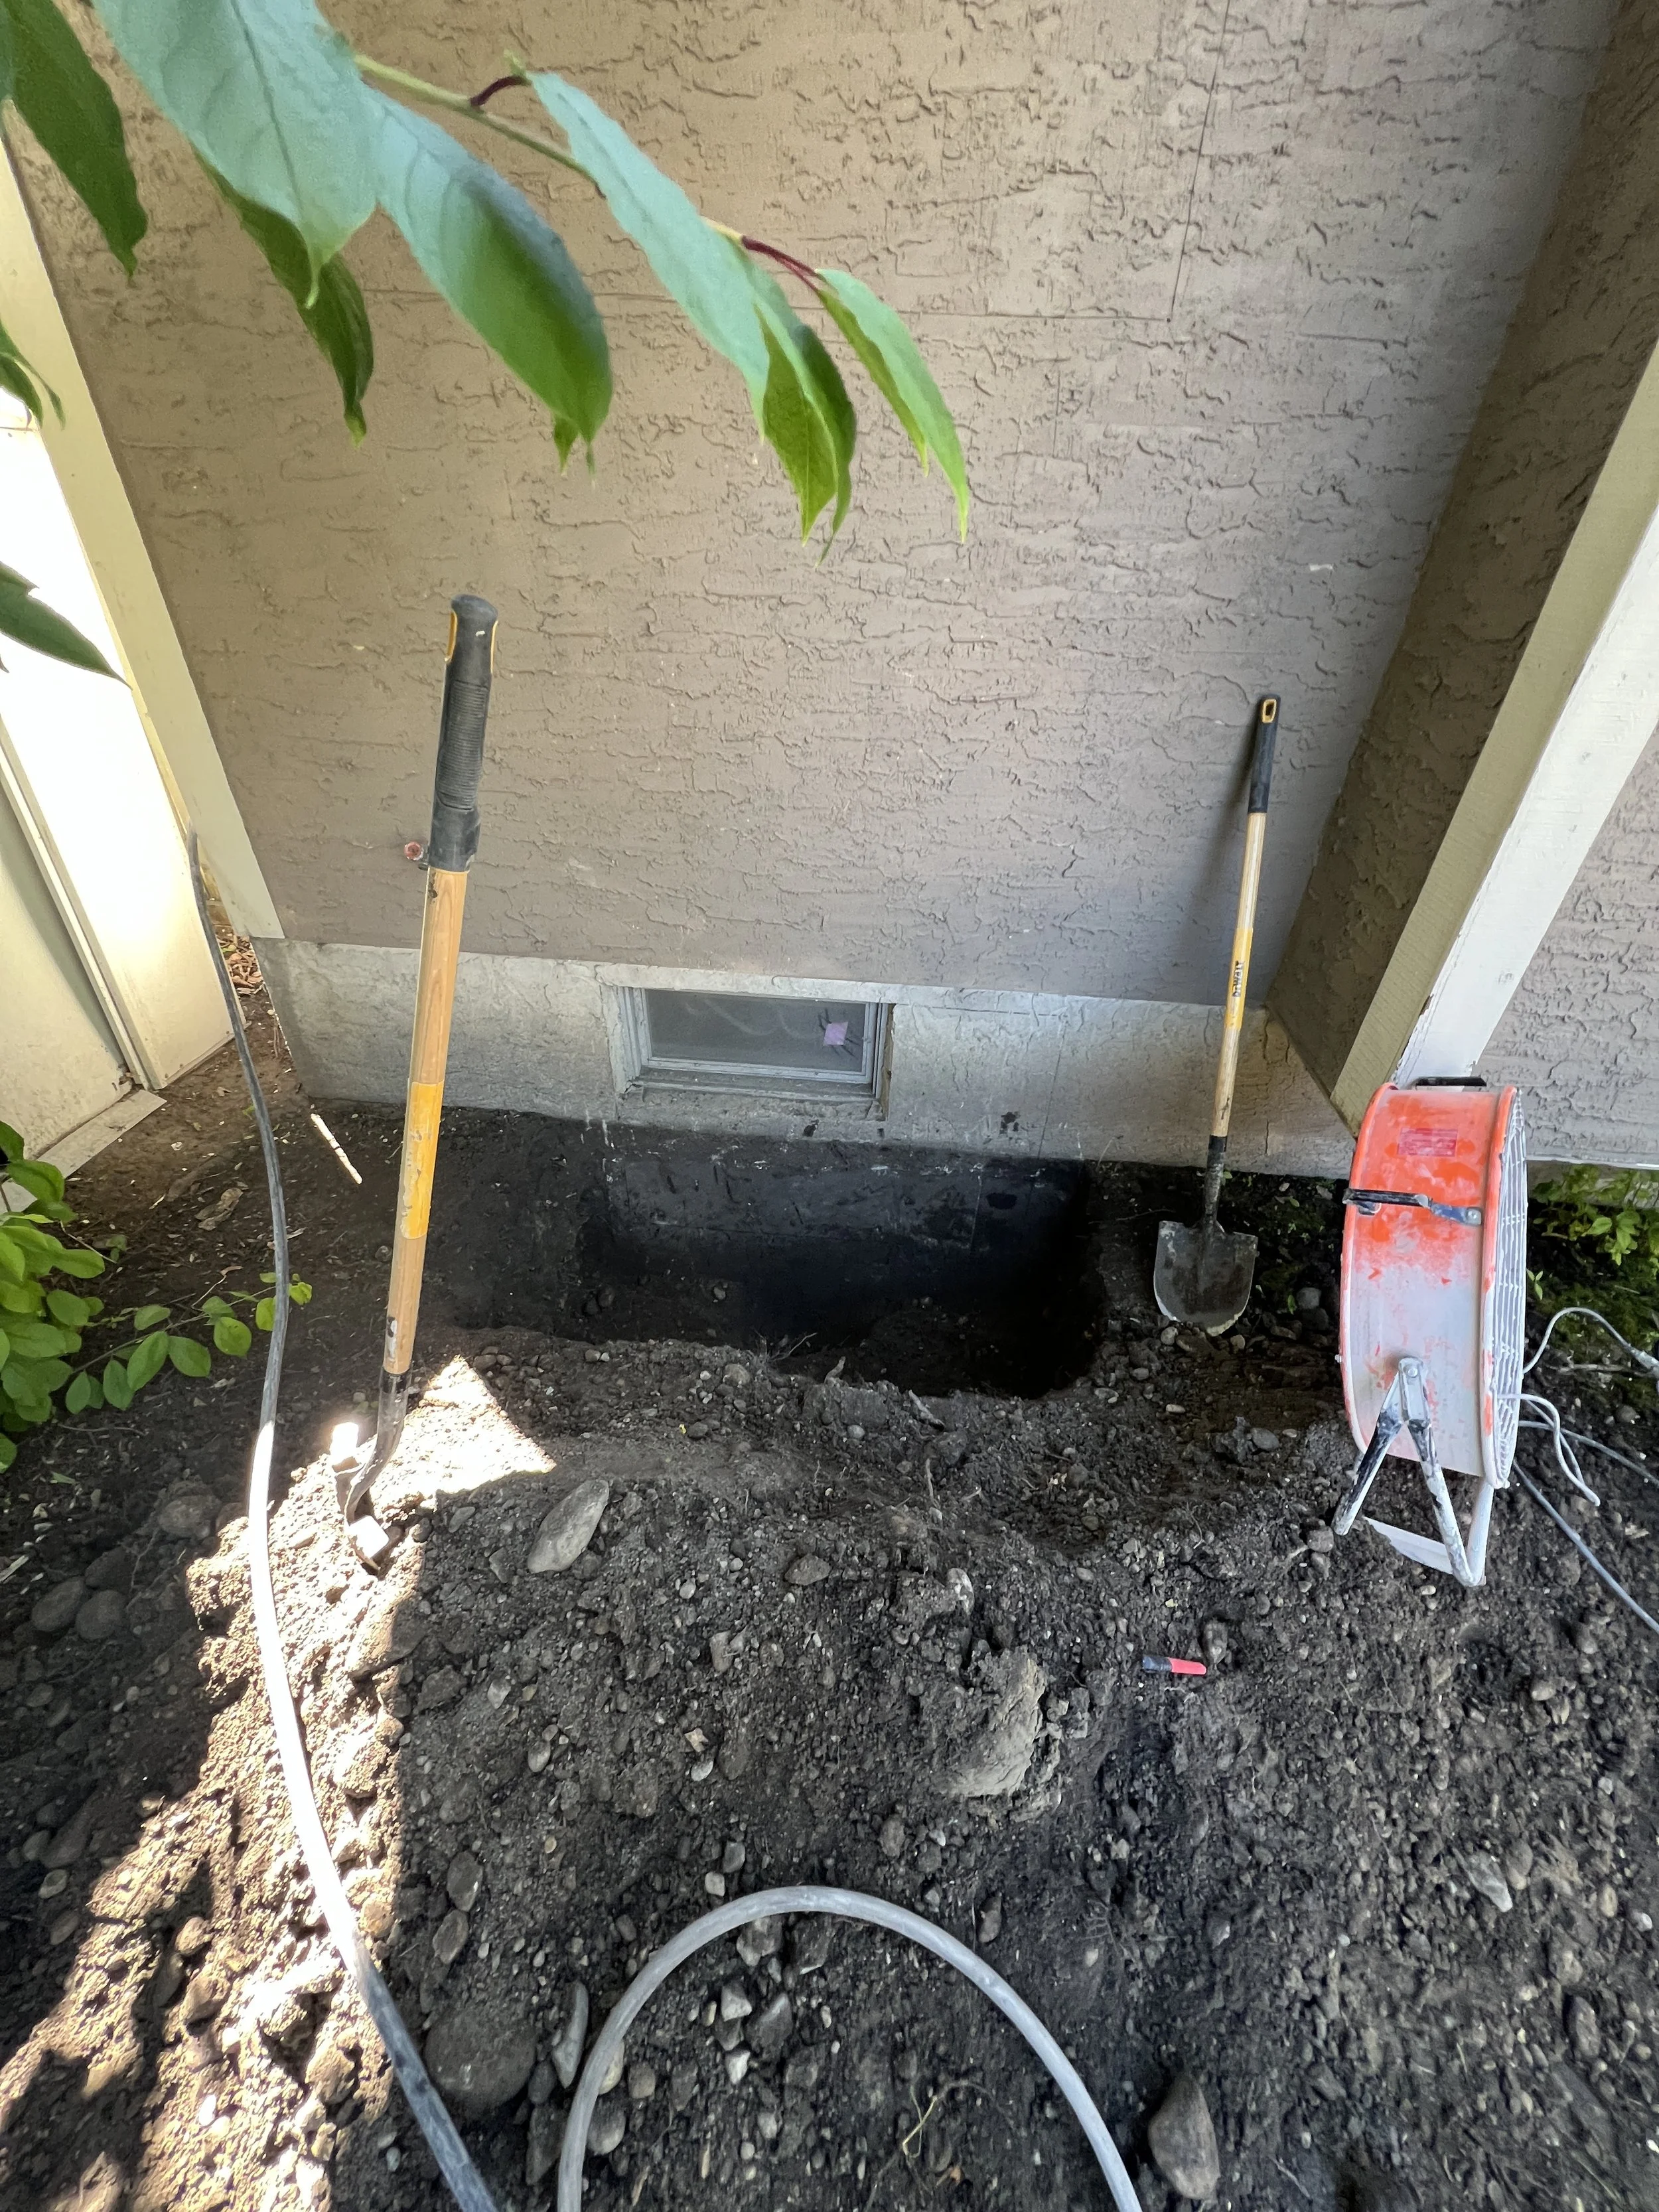
It all kicks off with some serious digging action—think shovels swinging or mini-hoe buckets grooving! Your hole gets carved out with flair, and poof—75% of that dirt does a vanishing act, hauled away in a dump trailer like it’s off to a soil vacation. The leftover earth? It’s chilling on-site, ready to swoop back in for backfill when the time’s right (cue the Window Time jazz hands!).
We’ll dive 10-12 inches deeper than your dream window’s bottom edge, ensuring your new opening is cut with precision and a touch of pizzazz!
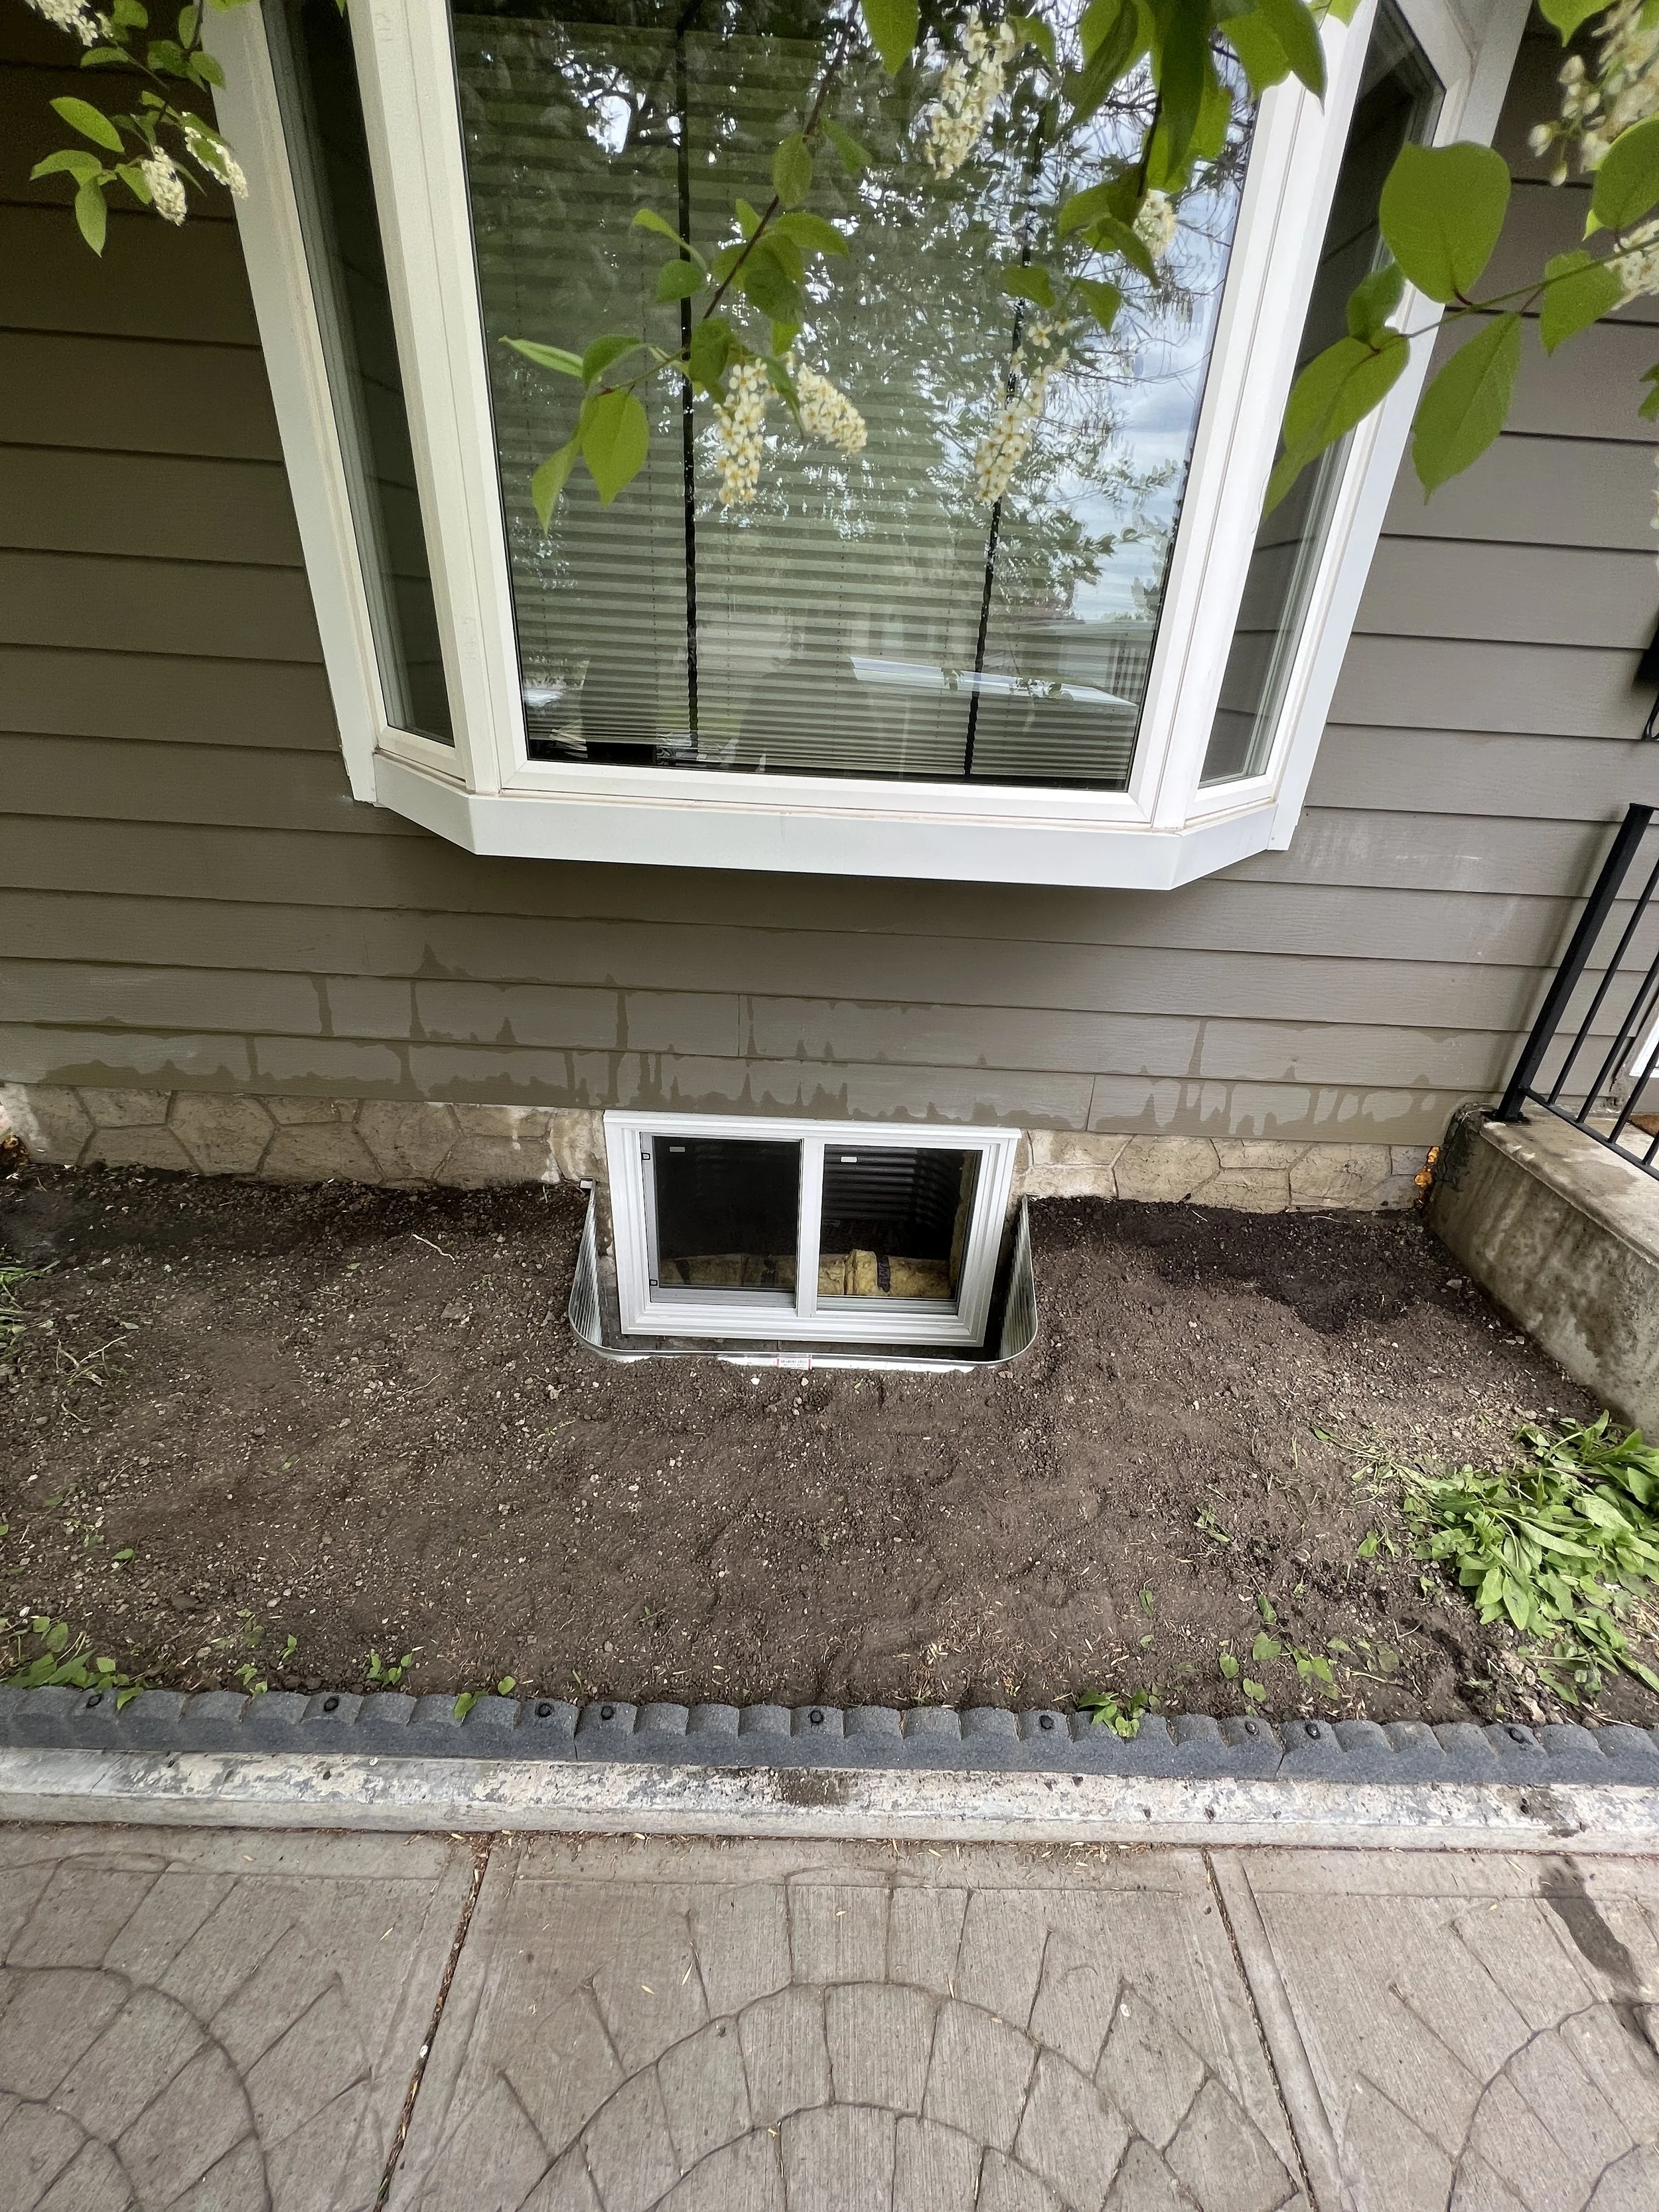
Alright, buckle up—it’s time to tackle the part that makes most folks quake in their boots: turning your basement windows into full-on “Egress Confirming” superstars! Yeah, it sounds like a beast, but let’s shimmy through the process with a sprinkle of fun:
First up, whether you’re jazzing up an existing window or plopping a brand-new one in, your trusty sales rep will have already gabbed with you about your dream placement. On D-day, the crew rolls in, and you’ll have a quick powwow to confirm the spot. Enlarging? You’ve got three fab options: center, right, or left—boom, decision-making as easy as picking your favorite ice cream flavour! 😎 New window? Just point like a game show host, and the crew will drill a cheeky pilot hole to double-check the spot’s just right—especially making sure the height vibes with your interior ceiling (because nobody wants an awkwardly sky-high window, amirite?).
Next, it’s time to get artsy! The crew grabs their imaginary magic markers and sketches out a snazzy rectangle (or sometimes a super-cool square) on the wall. Our on-site geeks are total rockstars, but even they need some lines to guide their concrete-cutting wizardry—no freehand sorcery just yet! 😜
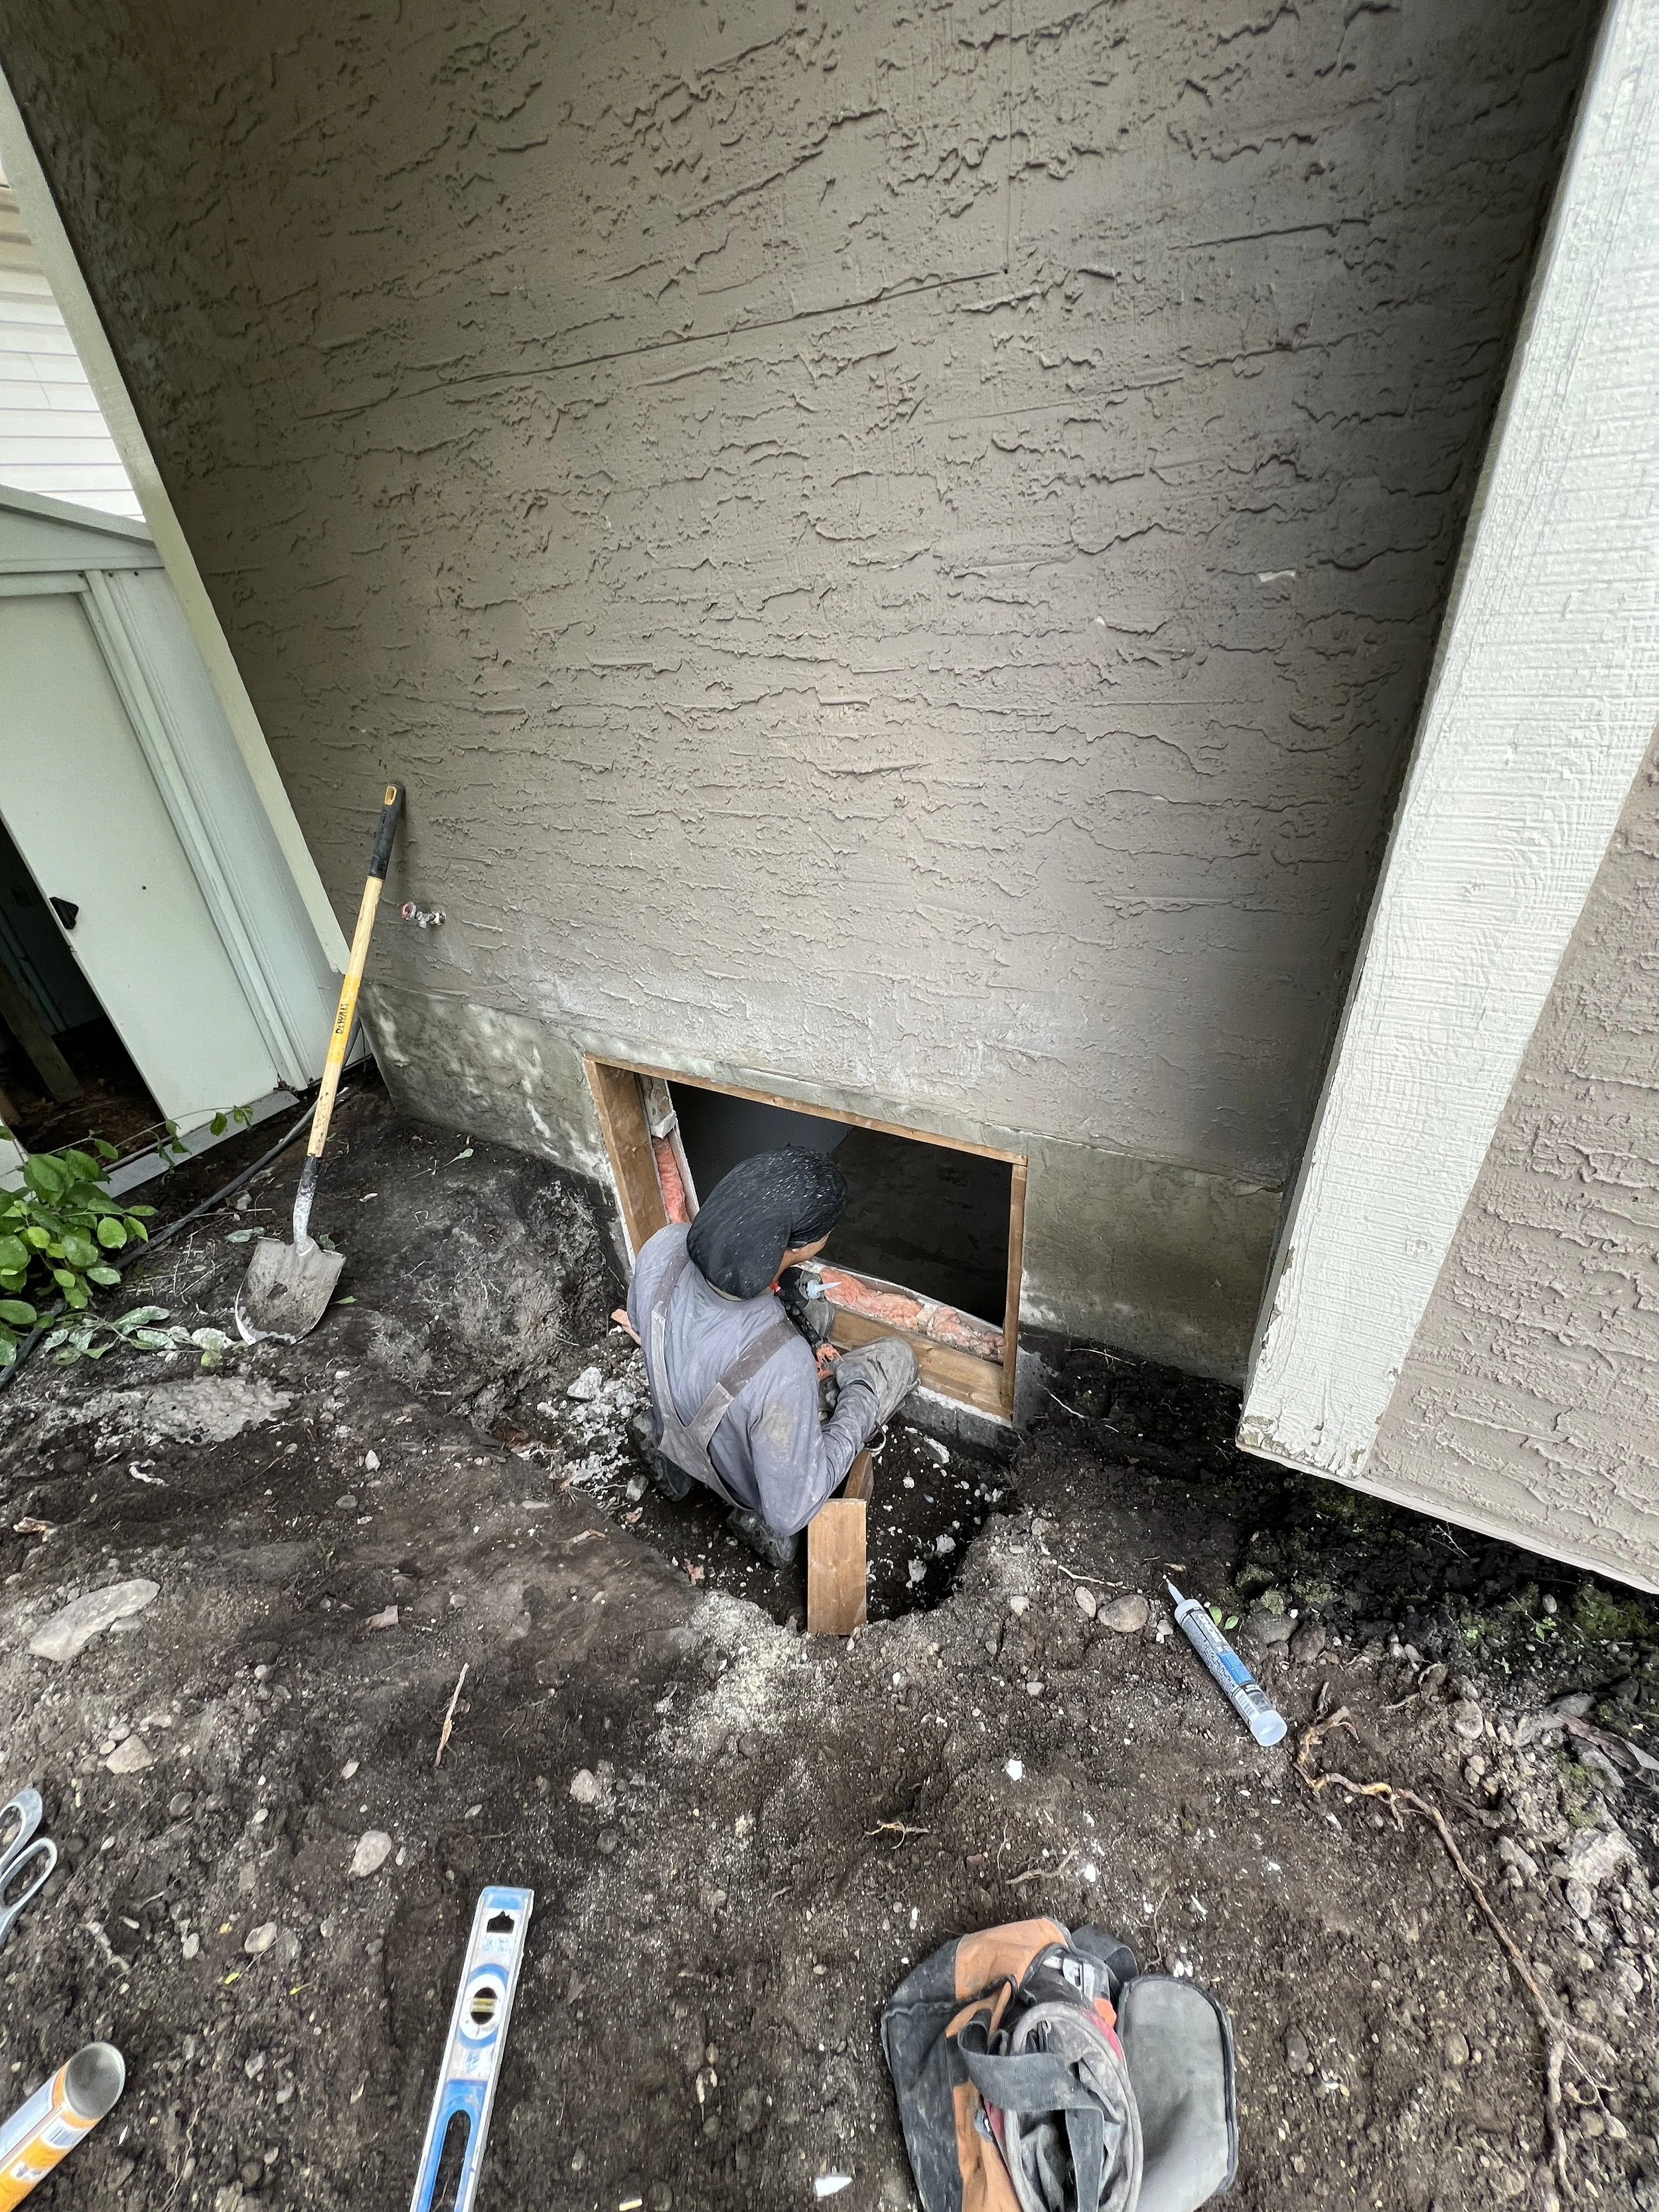
Now, brace for the main event: concrete cutting! This is the loudest, dustiest, messiest part of the gig, and we’re keeping it 100% real with you. But chill—all that chaos stays outside, neatly contained in the excavated hole like a dirt-filled piñata. Your indoor zen remains untouched, so take a deep breath! The crew carves out that perfect rectangle (or square) with surgical precision—NO OVERCUTS, because overcuts are the party pooper we all despise. They slice 2” deep, then 6” deep, and finally 8” deep, dialling back the water used for dust control to keep things tidy. Top, sides, bottom—it’s a methodical dance to ensure no sneaky water creeps into your basement.
Finally, it’s time to yeet that concrete chunk out of the foundation, creating a glorious new opening! The slab is whisked away to the exterior, where it gets a sledgehammer-and-demolition-hammer rave party, smashed into bite-sized pieces and carted off-site for good. Voilà—your egress window is ready to shine! ✨
Inside
our world
Welcome to our construction and maintenance family, where every project is a journey we embark on together. With a strong commitment to quality and care, we're here to build spaces that inspire and support your dreams.

Contact Us
Interested in working together? Fill out some info and we will be in touch shortly. We can’t wait to hear from you!